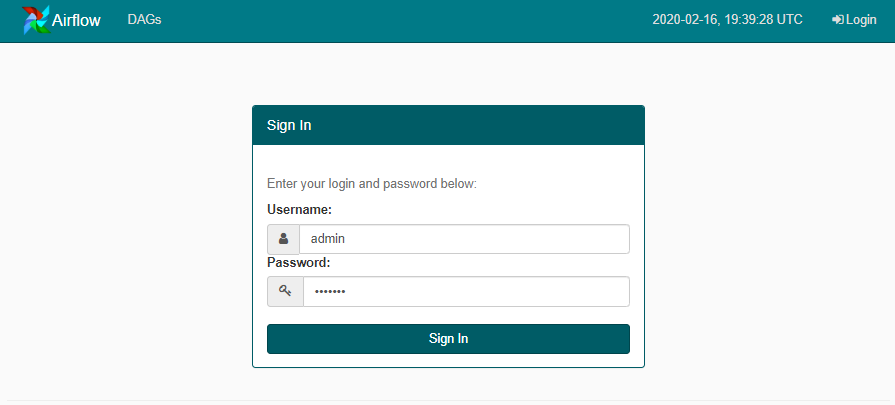
In the airflow version less than 2, there is no default authentication available in the web application. Anyone can access the application with the URL, it won’t ask for any username and password. But apache airflow provides an option to enable username and password-based authentication. We just need to change something in the configuration file of airflow. Follow the below steps to secure the web UI of your apache airflow.
Locate the config file of airflow named airflow.cfg and find the webserver section and change the value of authenticate, auth_backend and rbac variables.
[webserver]
authenticate = True
auth_backend = airflow.contrib.auth.backends.password_auth

rbac = True
Now, authentication is enabled. The next step is to create the username and password to login in to web UI.
Now, access the terminal where airflow is installed, it can be your web server, docker container etc. and run the below command.
airflow create_user -r Admin -u admin -e [email protected] -f admin -l user -p admin123
Here, Admin is the role that is passed after -r flag, admin is the username that is passed after -u flag, [email protected] is the email ID of the user, admin123 is the password that is passed after -p flag.
Rebuild your docker container or restart your airflow, now you should be able to access the web authentication page when you will try to access the airflow.
Let us know in the comment if you face any issues in implementing the same. It is straightforward and should be done by following this tutorial.
You can set the base URL of your airflow from here.
Happy Coding!!

Leave a Reply