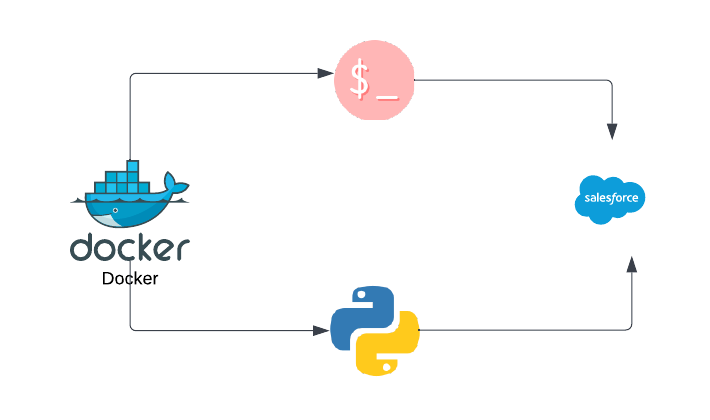
SFDX CLI and python inside docker
If you want to run the SFDX command inside the docker container then you have to install the SFDX CLI inside docker for that you need to install a couple of dependencies so there are two easy ways to do it, you can pick whichever way you find easier for you.
- Pull docker image from docker hub that is published by salesforce.
- Build your custom docker image and then run it. In this option, you will have more control over the docker image. You can install whatever new packages you want to install by directly modifying the
dockerfile.
In this article, we will talk about both methods one by one.
- For each Salesforce CLI version, salesforce provides two flavors:
- slim: The CLI installed on Linux with a TAR file, plus OpenJDK 11.
- full: The CLI installed on Linux with npm on a full Node.js installation, plus OpenJDK 11 and additional utilities such as jq.
For example, to pull and run the slim CLI release candidate image run the below command.
docker pull salesforce/salesforcedx:latest-rc-slim
docker run -it salesforce/salesforcedx:latest-rc-slim
2. Build your custom docker image and run the sfdx CLI along with python and other packages. Follow the below step by step instructions for this.
Prerequisite:
Step 1: Create a file name dockerfile in the root directory of your project and paste the below code into that file.
# VERSION 1.0.0
# AUTHOR: [email protected]

FROM heroku/heroku:18
LABEL maintainer="https://mybeliefs.in/"

ENV DEBIAN_FRONTEND=noninteractive
ARG SALESFORCE_CLI_VERSION=latest

RUN apt-get update && apt-get install -y \
    software-properties-common \
    python3.7 \
    python3-pip \
    python3-distutils \
    python3-setuptools \
    && python3.7 -m pip install pip \
    && python3.7 -m pip install pip --upgrade pip

RUN echo 'a0f23911d5d9c371e95ad19e4e538d19bffc0965700f187840eb39a91b0c3fb0  ./nodejs.tar.gz' > node-file-lock.sha \
  && curl -s -o nodejs.tar.gz https://nodejs.org/dist/v16.13.2/node-v16.13.2-linux-x64.tar.gz \
  && shasum --check node-file-lock.sha

RUN mkdir /usr/local/lib/nodejs \
  && tar xf nodejs.tar.gz -C /usr/local/lib/nodejs/ --strip-components 1 \
  && rm nodejs.tar.gz node-file-lock.sha

ENV PATH=/usr/local/lib/nodejs/bin:$PATH
RUN npm install --global sfdx-cli@${SALESFORCE_CLI_VERSION}

RUN apt-get install --assume-yes \
  openjdk-11-jdk-headless

RUN apt-get autoremove --assume-yes \
  && apt-get clean --assume-yes \
  && rm -rf /var/lib/apt/lists/*

ENV SFDX_CONTAINER_MODE true
ENV DEBIAN_FRONTEND=dialog
ENV SHELL /bin/bash

WORKDIR /scripts
COPY requirements.txt /requirements.txt

RUN pip3 install -r /requirements.txt

CMD ["jupyter", "notebook", "--allow-root", "--notebook-dir=/scripts"]
In the above dockerfile, we are using one base docker image and then on top of that image, we are installing a few more dependencies like python, sfdx, openjdk.
As we are installing python so we are giving one more option to install python packages with requirements.txt file at the time of docker image creation. We will talk about this requirements.txt file in the next steps.
Step 2: Create another file name dockdocker-compose.yml in the root directory of your project and paste the below code into that file.
version: '3'
services:
  automate:
    build: .
    image: mybeliefs/custom-sfdx-cli
    ports:
      - 8888:8888
    volumes:
      - ./requirements.txt:/requirements.txt
Step 3: Create a file named requirements.txt and in this file put a list of all the python packages with their version number so those packages will be installed at the time of docker image creation. Add below list of packages in your file and can add more packages based on your need.
jupyter==1.0.0
Step 4: Build your image and run the container. Run the below command from the project’s root directory. Please make sure docker-compose.yml file exists in the directory from where you are running this command.
docker-compose up
Step 5: (optional) If you do some changes in the Dockerfile and want to rebuild the image pass the --build argument to rebuild image.
docker-compose up --build
You can access jupyter access using this URL localhost:8888
I hope it will work for you.
Happy Coding!!

Leave a Reply